Serverless Data Integration for Data Analysts with Zapier
Serverless Data Integration for Data Analysts with Zapier
Serverless Data Integration for Data Analysts with Zapier
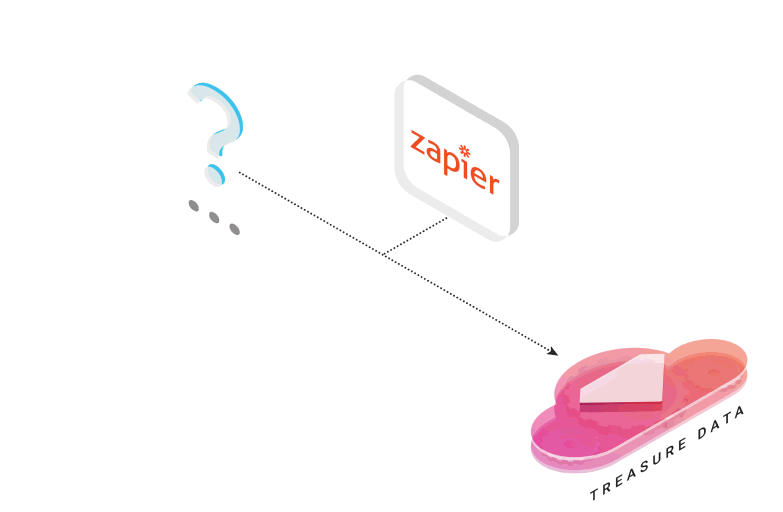
If you’re familiar with IFTTT.com and the simple “If This Then That” task automation “recipes”, then you already also have a pretty good idea how Zapier’s trigger-response mechanism works: you perform a simple manipulation in one web app, and this triggers a response or behavior in another.
What you probably didn’t know is that, using webhooks, you can do a simple data import to Treasure Data. Given Zapier’s hundreds of integrations, a “Zap” containing a webhook to Treasure Data’s REST API opens the door to numerous self-service integrations between any of these data sources and Treasure Data.
While this integration should not replace a full-fledged import to Treasure Data’s Data Engineering as a Service using one of our Data Connectors, it does serve as a good basis for modelling your data or building exploratory queries and analysis on data sources that are not yet supported.
Are you working in an organization where some folks are still keeping data in spreadsheets and want a quick an easy way to use their data in your analytics pipeline?
In this tutorial, we’ll demonstrate this with a simple integration between Google Sheets and Treasure Data using a Zapier Zap.
Let’s get started! We’ll need a few things:
- A Google Docs account;
- A Treasure Data account and your Treasure Data Write API key. We recommend you also install Treasure Data Toolbelt.
- A Zapier account. For our purposes, the free basic plan will do.
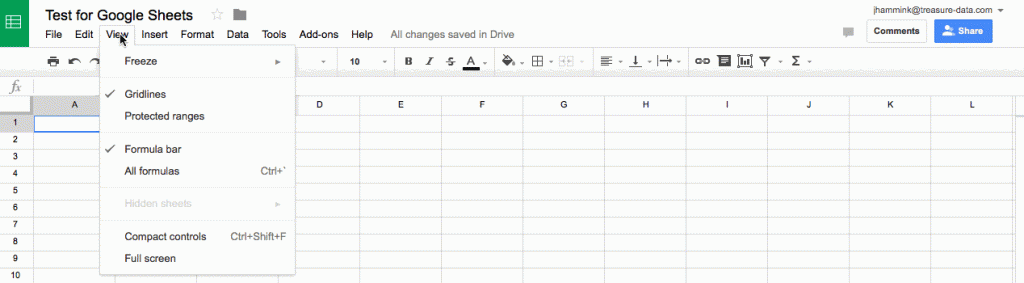
Set up your Google Sheet
Set up a Google Sheet as you normally would (for use as a data table). Be sure to include a header row at the top.
Click the GIF to view the animation.
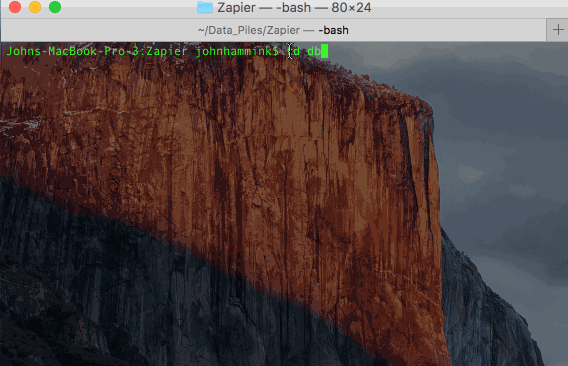
Set up your Treasure Data Database and Table
This is most easily done from the command line using TD Toolbelt.
Set up your Zapier Zap
- At the top of the Zapier Dashboard, click the
 button.
 - Choose
as your trigger app.
- Choose ‘New Spreadsheet Row’ as your trigger and click ‘Save + Continue’.
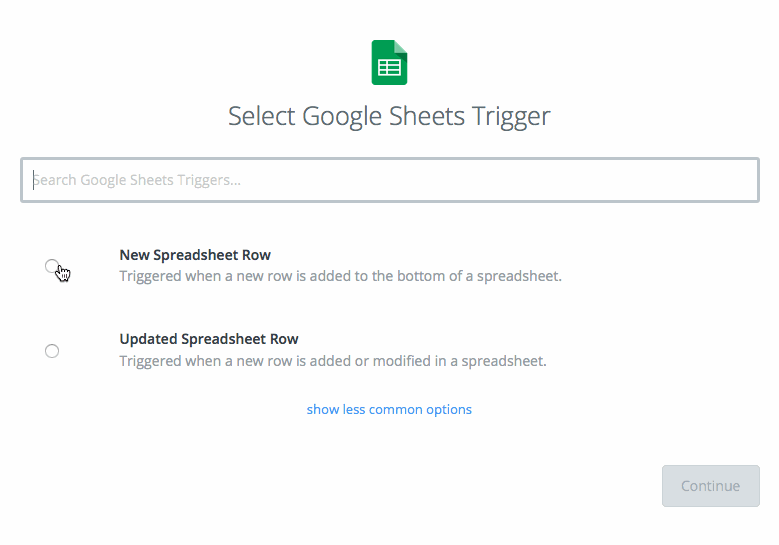
- Select your Google Sheets account. Click ‘test’ and ‘Save + Continue’.
- Select the Spreadsheet and Worksheet you want to pull data from. Click ‘Save + Continue.’
- On the next screen, after you’ve added a row of data to your spreadsheet, click ‘Fetch + Continue’.
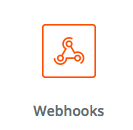
- Next, select
as your ‘Action’ app.
- Choose ‘Post’ action. Hit ‘Save + Continue’.
- Enter the following information
- Click ‘Continue’, add a new row to your spreadsheet, and test it in the next step by clicking ‘Create & Continue’.
- Click ‘Finish’ and turn the Zap on. You can view all Zaps with the ‘See it in your Dashboard’ button.
Now…wait
It takes up to 15 minutes for Zapier to recognize new rows in the sheet and run the webhook, although in some cases you can easily prompt the Zap to run by clicking the dropdown menu.
Click the GIF to view the animation.

Query your Data
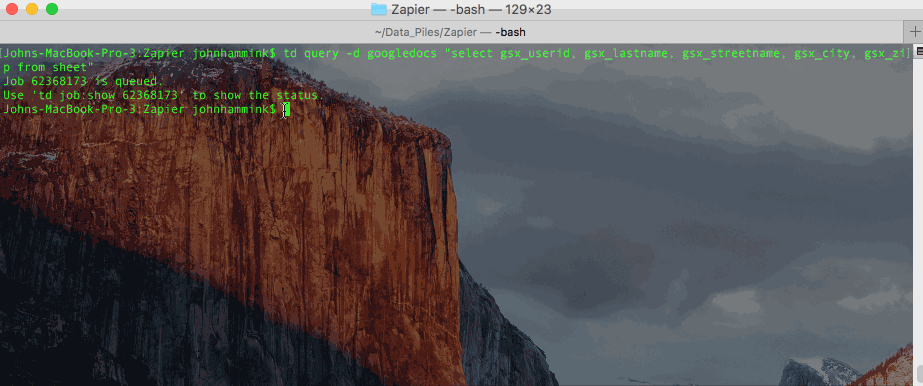
Once your data is in Treasure Data (it was ingested when the webhook ran), you can query it using Treasure Data CLI and SQL. Our SQL engine is powered by Hive and Presto and scales to billions of rows.
Note that the column headers won’t match exactly to those in your original spreadsheet. Zapier adds “gsx_” prefix to the headers you’ve defined in your original sheet, as well as a few other Zapier-specific fields.
However you can get the same data out of your query as on your original sheet by excluding the Zapier-added columns in your queries.
There are a few different ways you can do this from the CLI. You can run the query as a plaintext string:
…and then show the results by Job ID. This job ID will show up as the previous output.
Or, if you prefer, you can also store the query itself in a text file, and call it from the CLI (accessing results by job ID, as above).
query.txt
Run the query from the command line:
Next Steps
Today, we showed you a Zapier Zap that pulls data from Google Sheets and sends it to Treasure Data, but it’s quite trivial to build Zaps to bring in Data from numerous other sources.
Check out Zapier’s Zapbook for the full list of available Zapier integrations (and possible data sources).
You can even use SQL (via Hive or Presto) to periodically run an inner join on two separate tables imported from separate sources (assuming they share a common field) as you would in any other relational database. Try it out!
Zap or not, Treasure Data can route data from almost any data source to almost any data destination. Sign up for our 14-day trial today or request a demo! As always, you can also reach out to us at sales@treasuredata.com!