Customer Data Management, Step One: Setting up Google Tag Manager
Customer Data Management, Step One: Setting up Google Tag Manager
Customer Data Management, Step One: Setting up Google Tag Manager
Setting up the plumbing
In my earlier post, Customer Data Management, Step Zero, Choosing a Tag Manager, I talked about why tag managers are important, and why Google Tag Manager is a good basic choice for most companies. Now we’re going to roll up our sleeves and put it to work.
In Dennis Yu’s excellent “Facebook For a Dollar a Day” series, he refers to the initial setup of GTM as part of the “plumbing” required for great marketing. And that’s not just because it’s essential for collecting customer data to increase conversions. Along with other tools such as Facebook Custom Audiences, it’s going to be an essential component of your content and marketing automation machine as well.[1][2] But first, let’s get GTM up and running with Google Analytics.
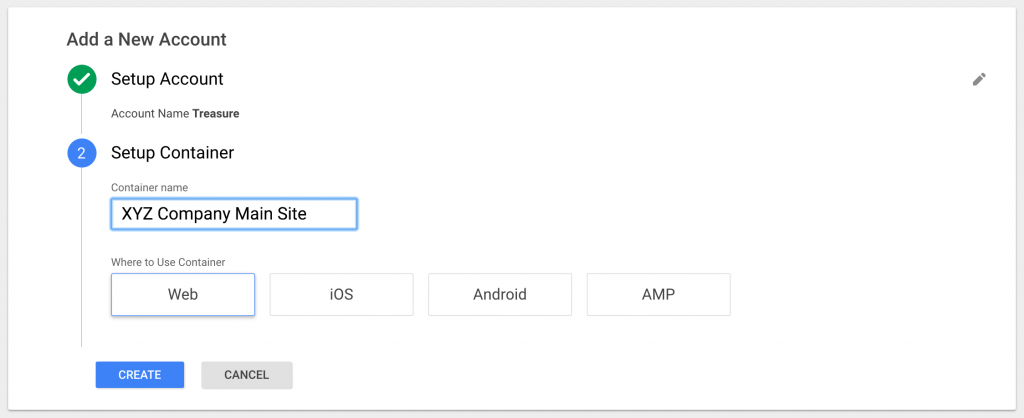
Go to the Google Tag Manager site and set up your account by clicking on the big green “Sign Up For Free” button. You’ll be creating a new ‘container’ that will hold all of your tags. Give it a descriptive name, click “Web,” then “Create”:
After accepting Google’s service agreement, you’ll be presented with some code to copy and paste onto every page of your website:
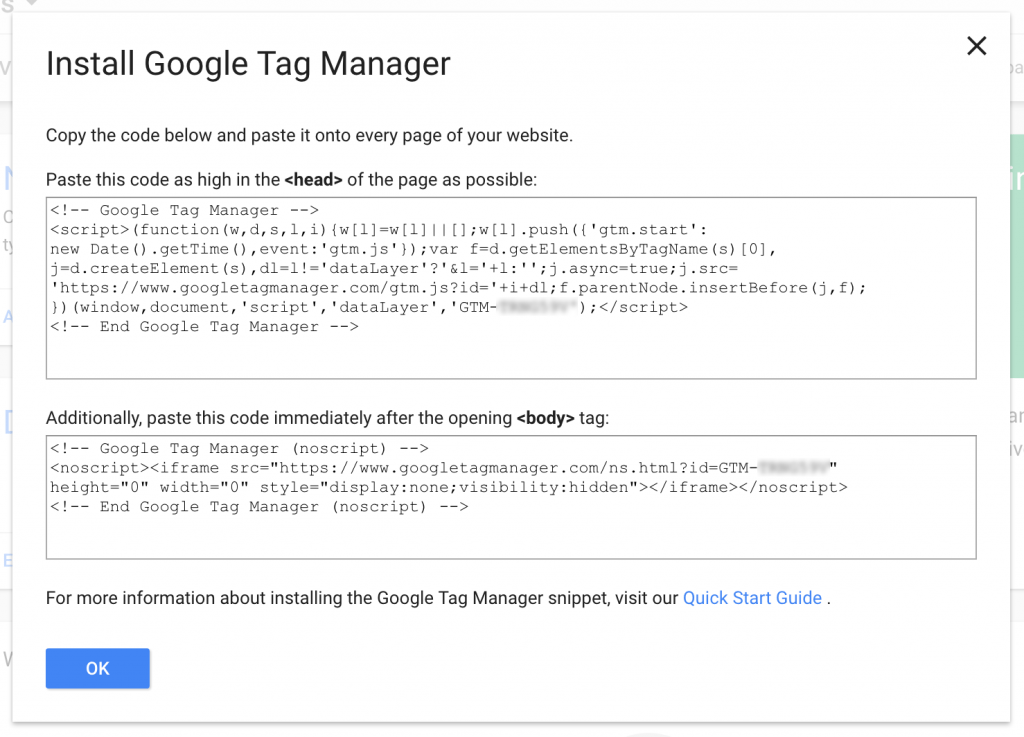
If your pages are hard-coded, this is the (slightly) onerous part. You’ll need to cut and paste this code into every page of your site. You can do this directly in the html pages using a text editor. The upside is you will only need to do it once; the downside is you need to make sure to do it every time a new page is added to the site.
Hopefully, however, you’re using WordPress. If you are, you’re in luck, because this plugin is about to make your life very, very easy. Instead of copying all of the code, just copy the tag ID, which is the bit starting with “GTM-” that comes after “?id=”. (It also appears in the right portion of the GTM site header.) Then you just paste that code into the Google Tag Manager plugin settings in WordPress:
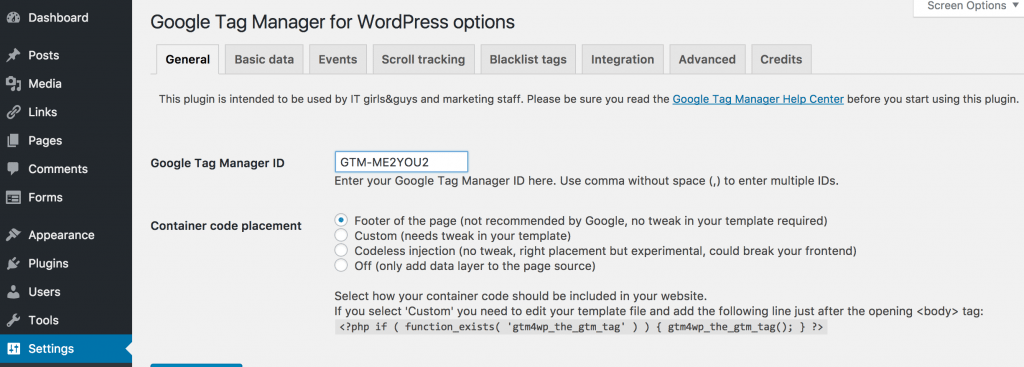
Save the settings, and you’re done.
The beauty of GTM, of course, is in its ability to manage tags, so let’s install one. Go to the Google Analytics site, click on the Admin tab, and go to Property>Tracking Info>Tracking Code:
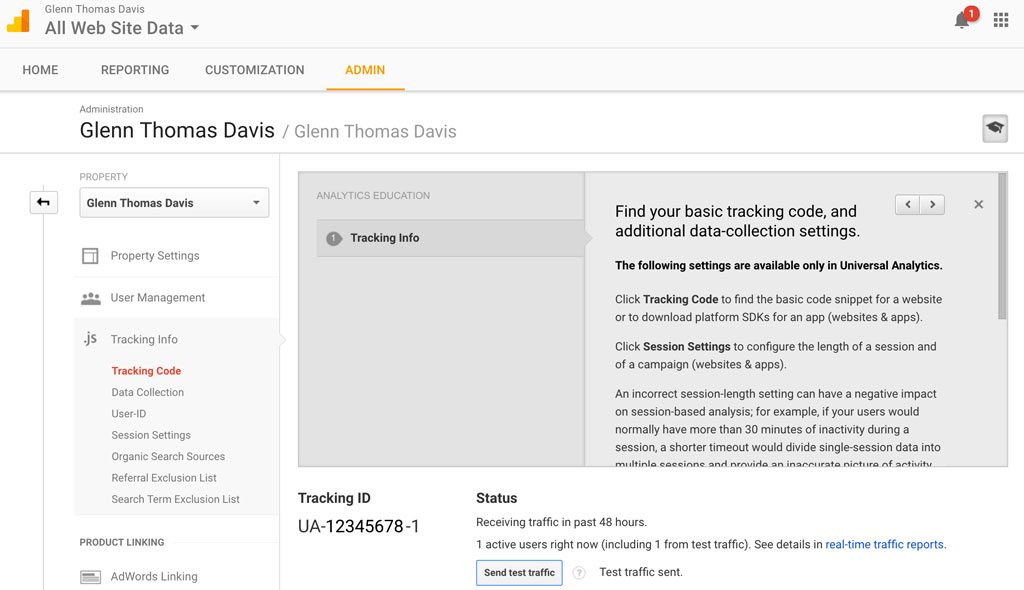
Copy your Tracking ID. Now go back into GTM, click the New Tag button, then click Tag Configuration and choose Universal Analytics:
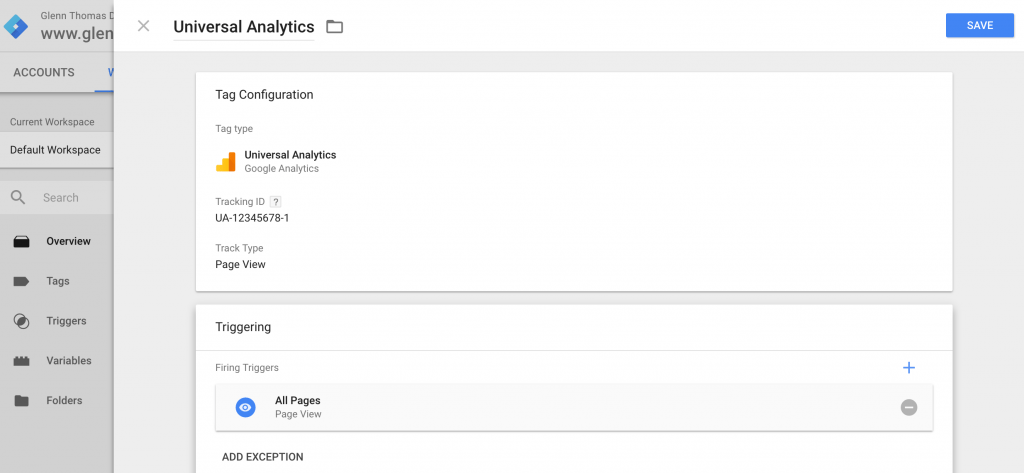
Paste your Tracking ID in the box and give the tag a descriptive name. Click Triggering, choose All Web Activity, then save your tag:
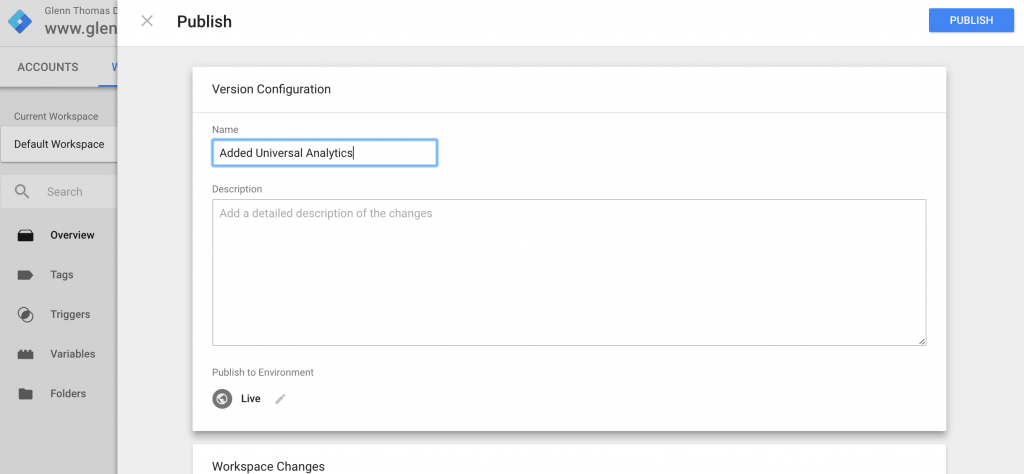
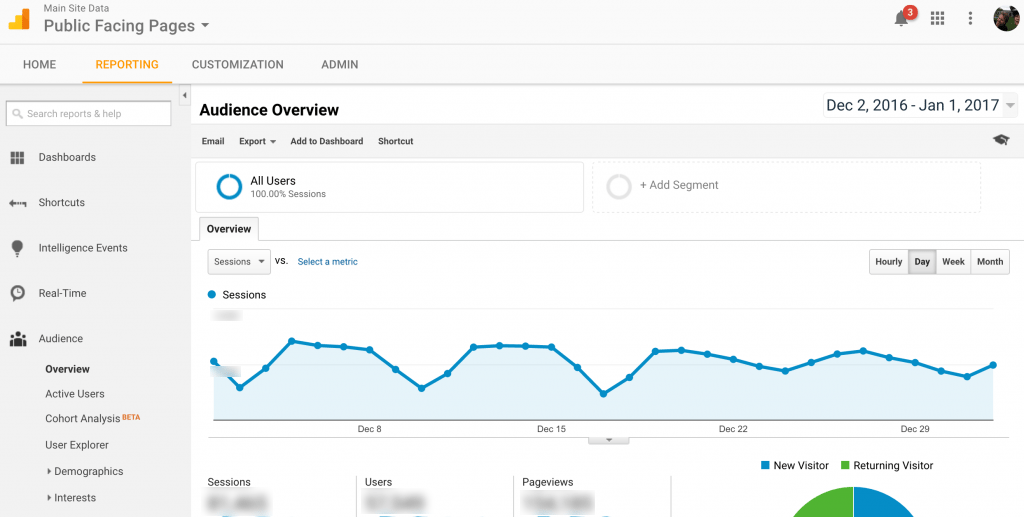
Now click Publish, give this configuration a descriptive name, and publish it. And that’s it! You now have Google Analytics running on your site, with access to all the data-crunchy goodness that GA provides.
The Fun Actually Begins
Of course, if all you wanted to do was to connect Google Analytics to your site, you wouldn’t need GTM at all. The real fun begins when you start hooking up all the other stuff you’re going to need to become a data-driven marketing machine. Fortunately, GTM makes that a snap.
What if you need to get the raw customer data from your website, correlate it with offline purchasing data, enrich it with some third-party data to create detailed customer segments, then create triggers to automatically send customized emails to certain high-value customers in response to certain signals?
There are a number of different ways to create detailed customer profiles and customized marketing automation workflows like the one described above. You could, as I mentioned in my previous post, use a more full-featured suite of tools that incorporates an enterprise tag manager, like Tealium or Ensighten. An even better solution might be to create a solution that combines a best-of-breed marketing automation tool like Marketo with a data integration tool like Segment. Or if you need true Live Data Management, you could unify all of the data from your existing sources and business applications using Treasure Data.
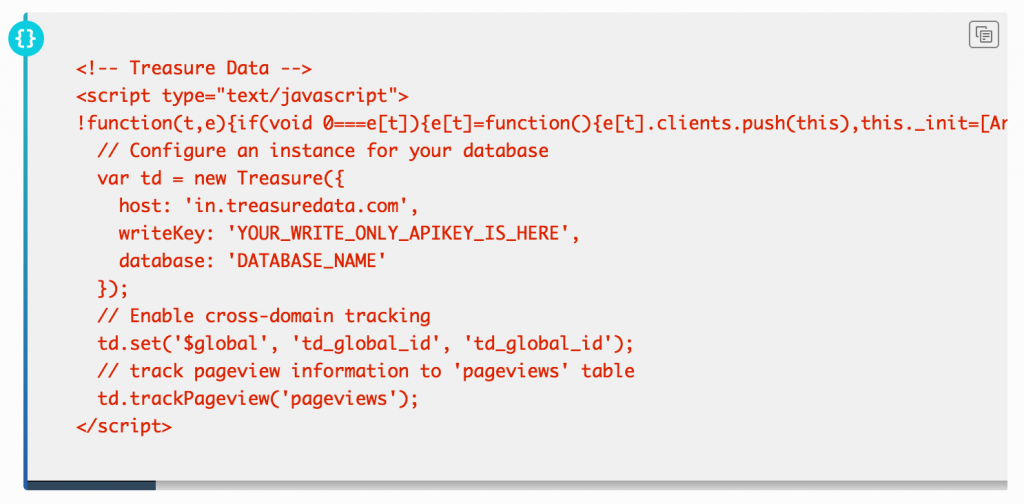
The beauty is that it’s just as easy to configure GTM to work with these data powerhouses as it is to add a tag from Facebook. With Treasure Data, for example, copy and paste the code from the Javascript SDK into GTM and you could be collecting raw data from your site, querying it, and creating custom workflows in minutes:
We’re getting a bit ahead of ourselves, but the point is that GTM extends the power to collect data far beyond the reaches previously dreamed of by marketers. In next week’s post in this series I’ll show how easy it is to connect another important piece of your digital marketing “plumbing”—Facebook Custom Audiences. Until then: Per data ad astra!